Eclipse IDE

Eclipse version
Eclipse IDE for Java Developers (includes Incubating components)
Version: 2021-12 (4.22.0) Build id: 20211202-1639
Eclipse IDE
The Eclipse IDE is famous for our Java Integrated Development Environment (IDE), but we have a number of pretty cool IDEs, including our C/C++ IDE, JavaScript/TypeScript IDE, PHP IDE, and more.
You can easily combine multiple languages support and other features into any of our default packages, and the Eclipse Marketplace allows for virtually unlimited customization and extension.
You can download it here
Create a new Project
After cloning the repository you should open eclipse and create a new project, for it just press Shift+Alt+N or go to File -> New, after it select Java Project.
Workspace
Note that the eclipse workspace is the location of sources config, tou can select other location of repository also
My workspace is /opt/Development/workspace-jdk-11 and I jus clone the ADempiere inside these route.

Building project
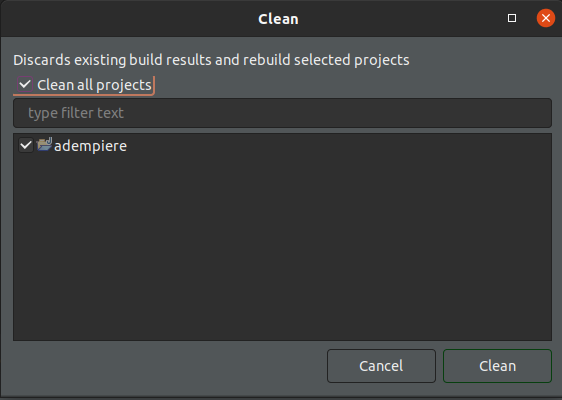
For build project just select the adempiere project and after it go to Project -> Clean -> Press button Clean
Change the Perspective
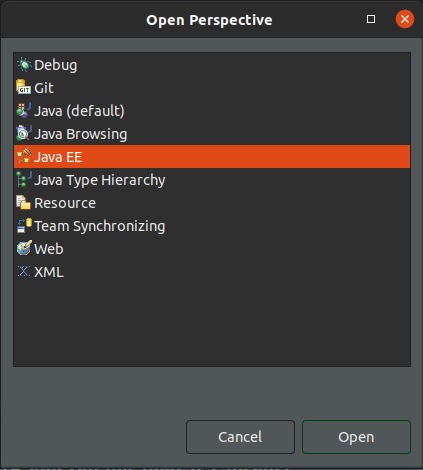
Now we need change the eclipse perspective to Java EE, it allows that you can see the adempiere project like a web project.
Go to menu Window -> Perspective -> Open Perpective -> Other..., after it select Java EE
Creating Tomcat Server
The tomcat server is a popular server and ADempiere can run over it.
Supported servers
ADempiere can run over Tomcat, Wildfly and Jetty
- Go to
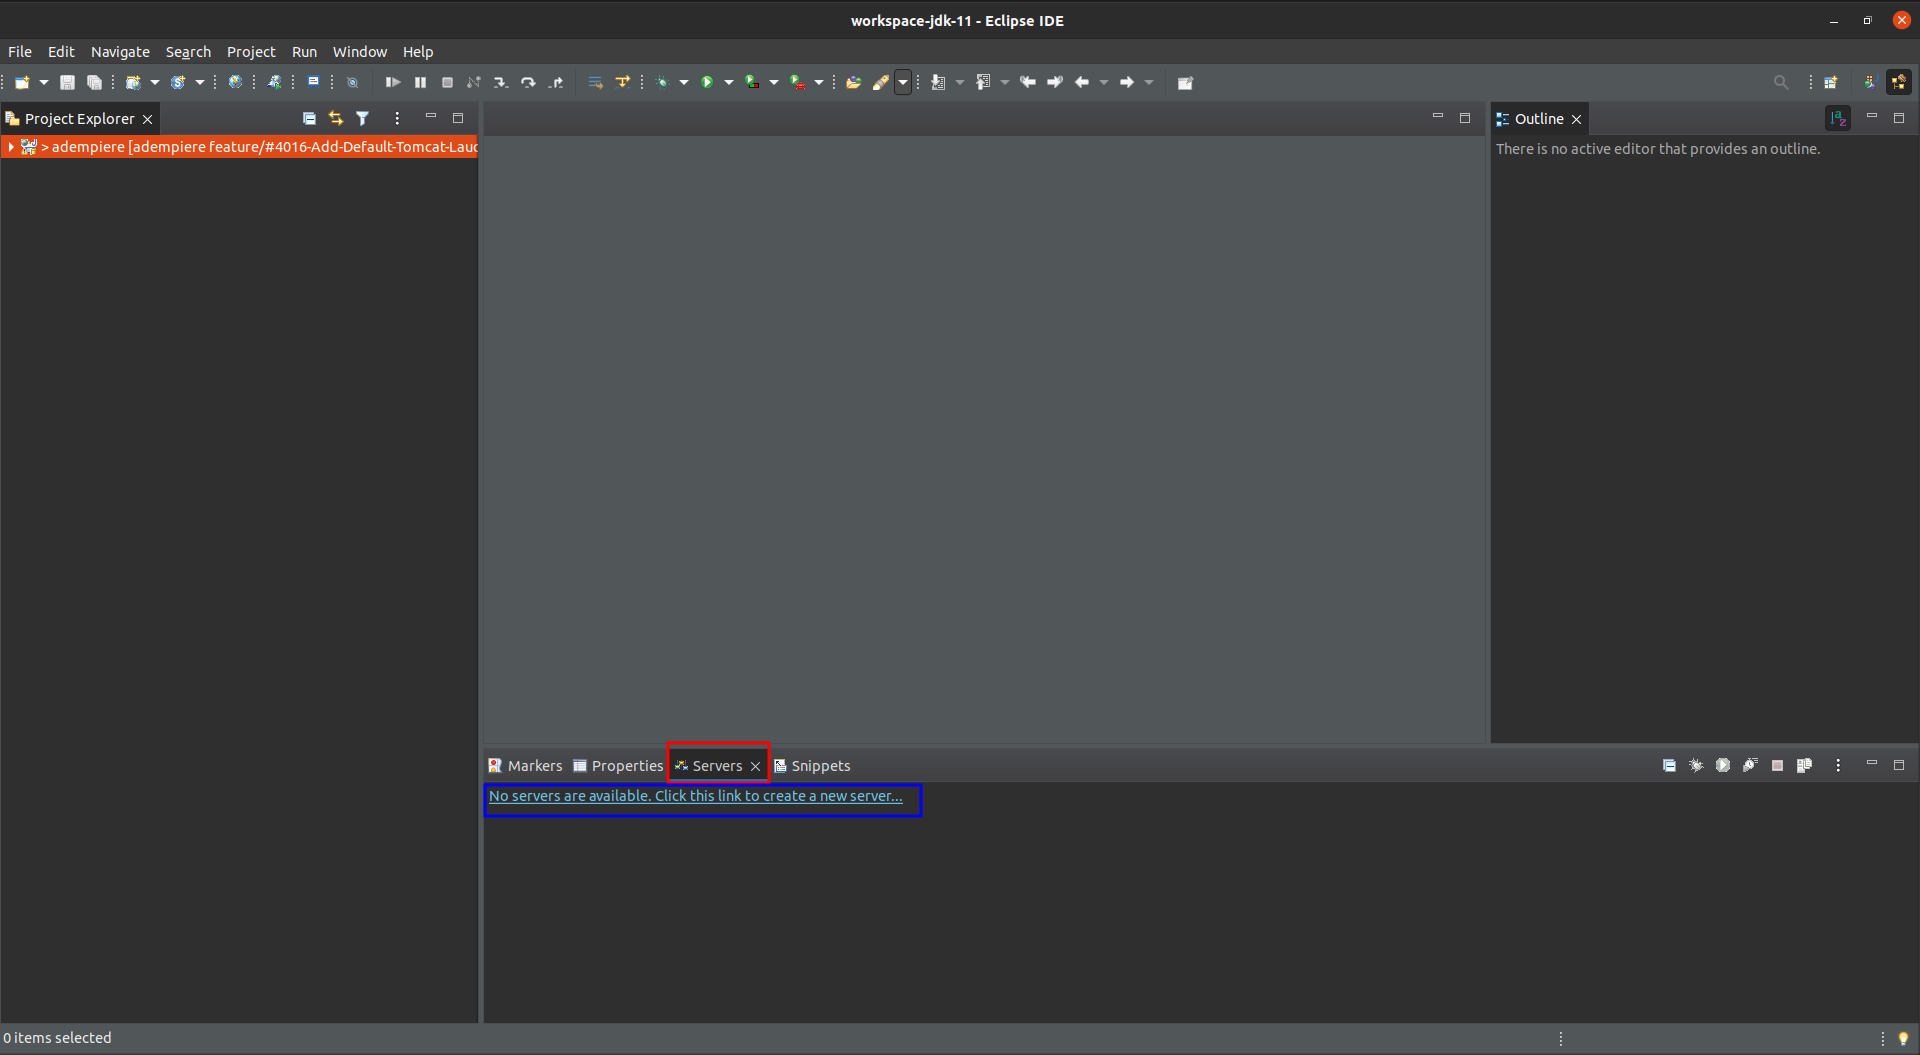
Serverspanel and press "No servers are available. Click this link to create new server..." option
- Select
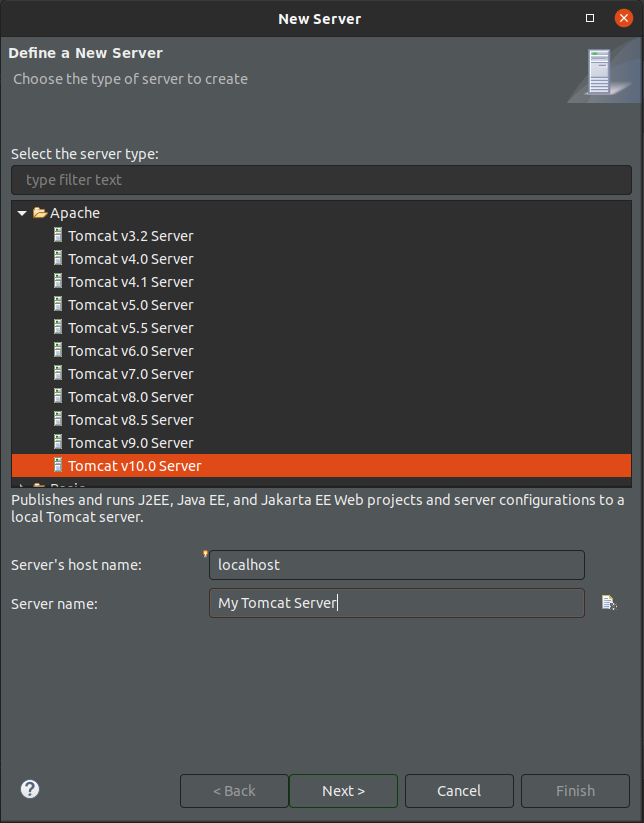
Apachefolder andTomcat v10.0 Server, also you can change the Server name, I change it toMy Tomcat Server. PressNext
- After previous step you must define the server install dir and others, note that I use
/opt/Development/workspace-jdk-11as install dir but exist a error "Unknown version of Tomcat was specified.", the eclipse wizard help to install, just press Download and Install... and acept the apache license. Finally just press Finish button.
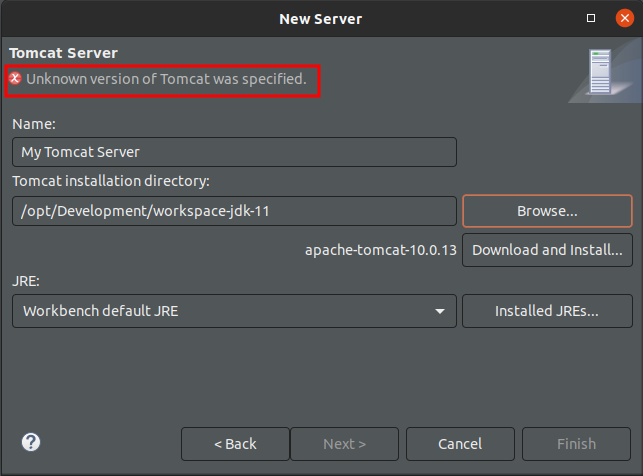
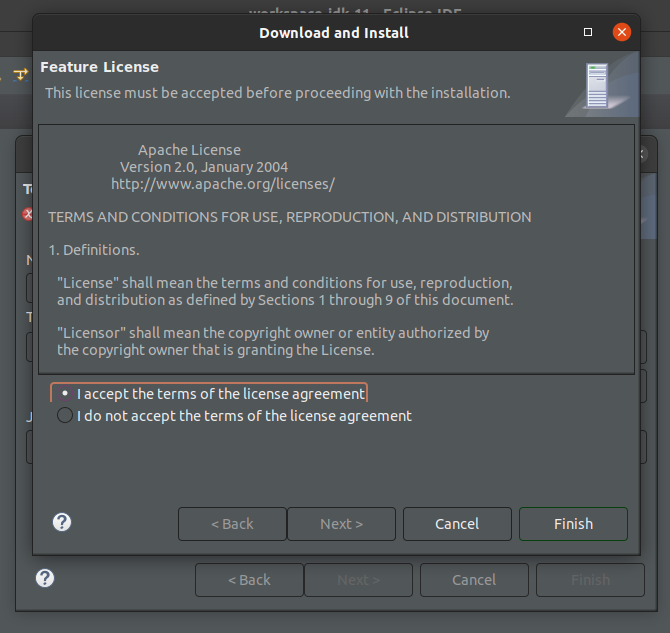
- Note that now exist a server with name My Tomcat Server, please make double click over it; Now you can see the server setup.

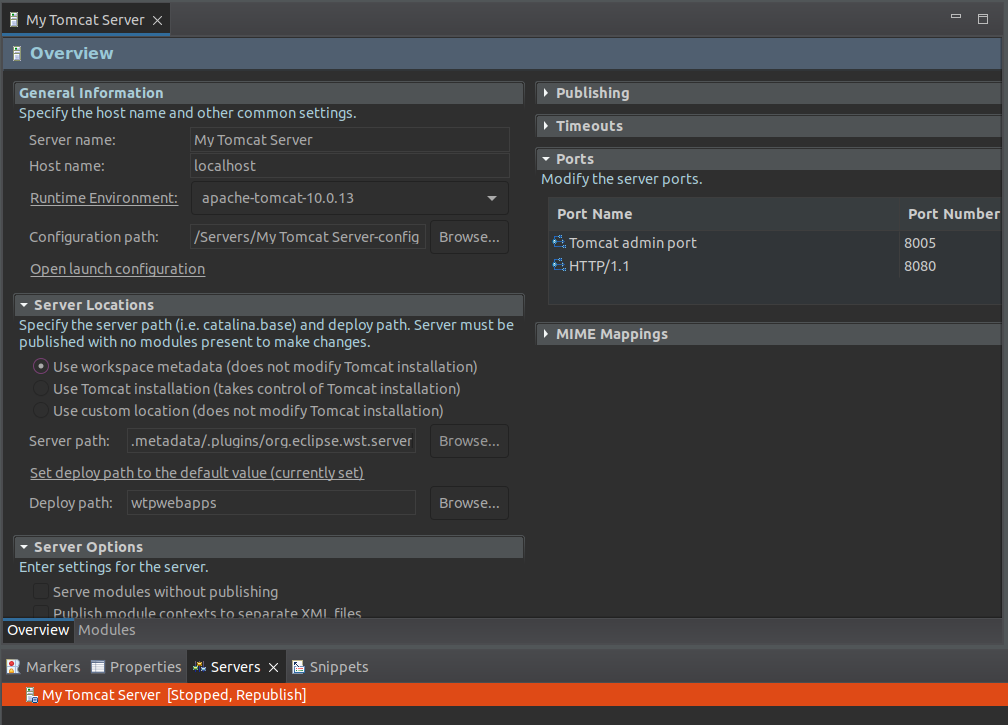
- Now we have a server with default tomcat features. This server is basically a tomcat without ADempiere setup, for get all features from ADempiere just change the Conmfiguration path by the default ADempiere path located in
adempiere/tomcat/conf

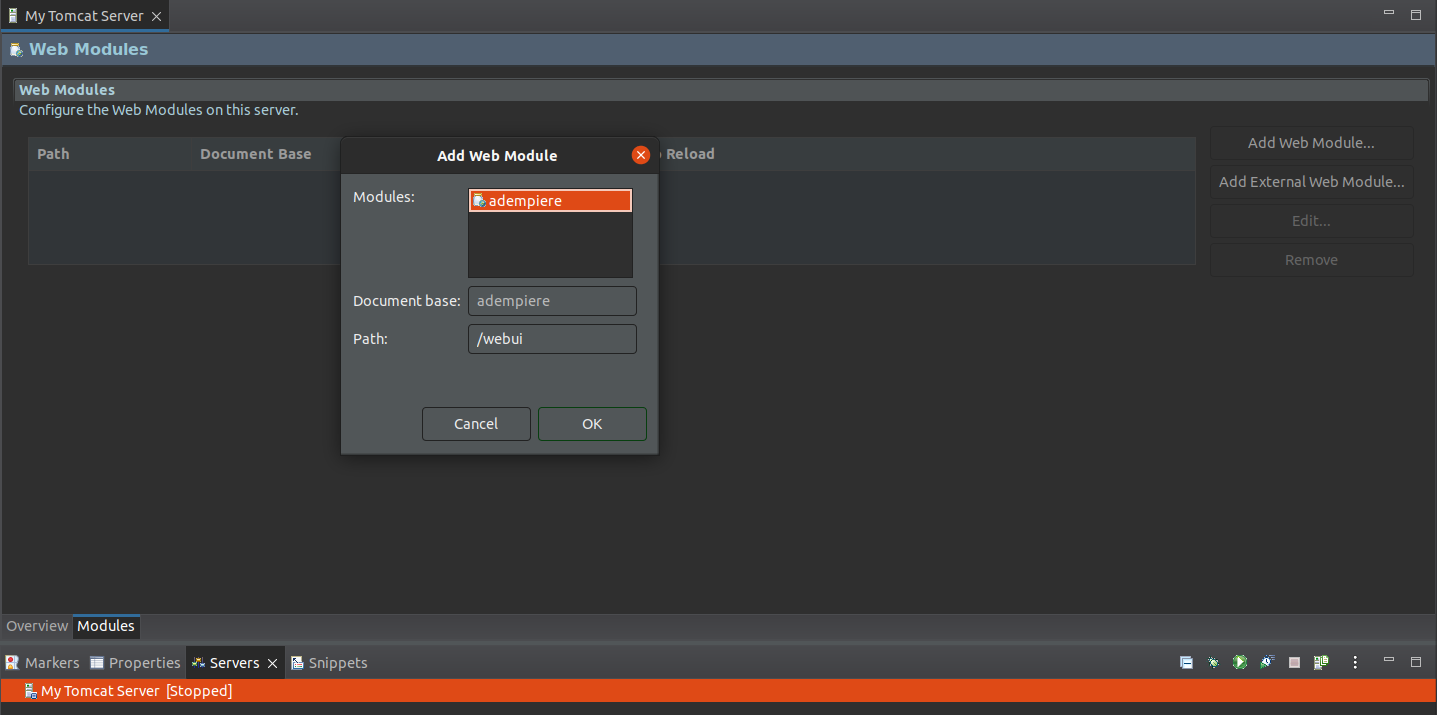
- Select Modules tab and after it press Add Web Module... button
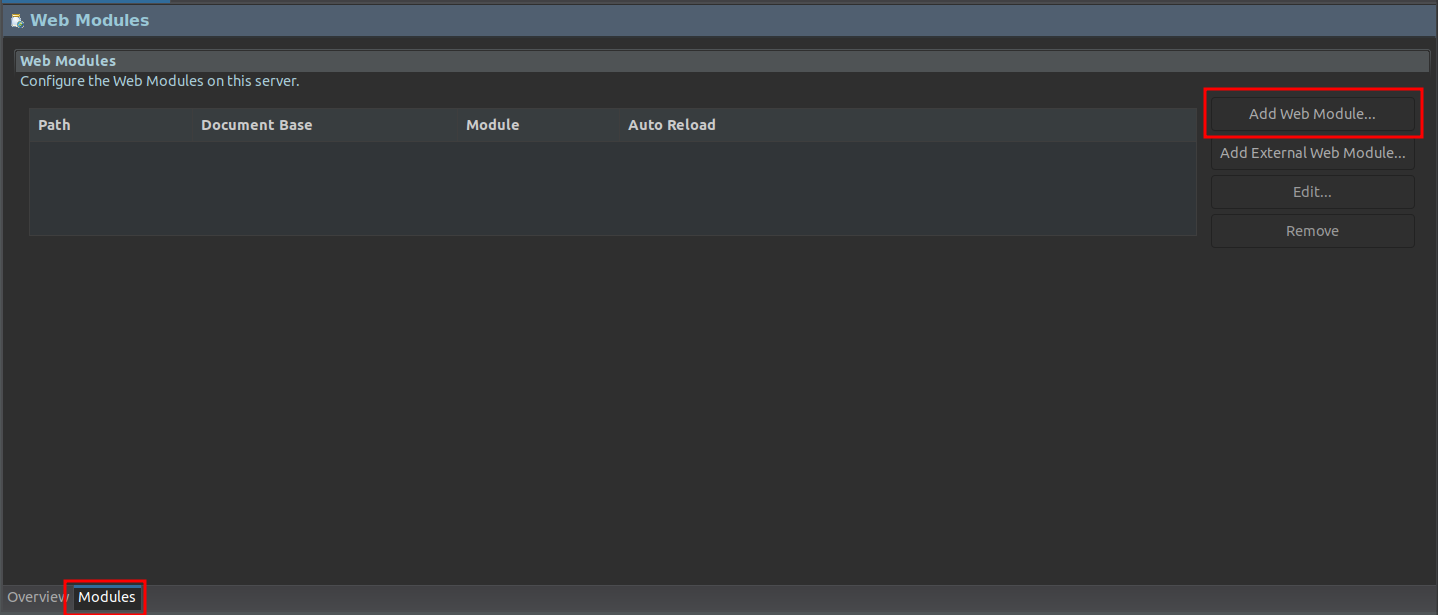
- Select adempiere and press Ok
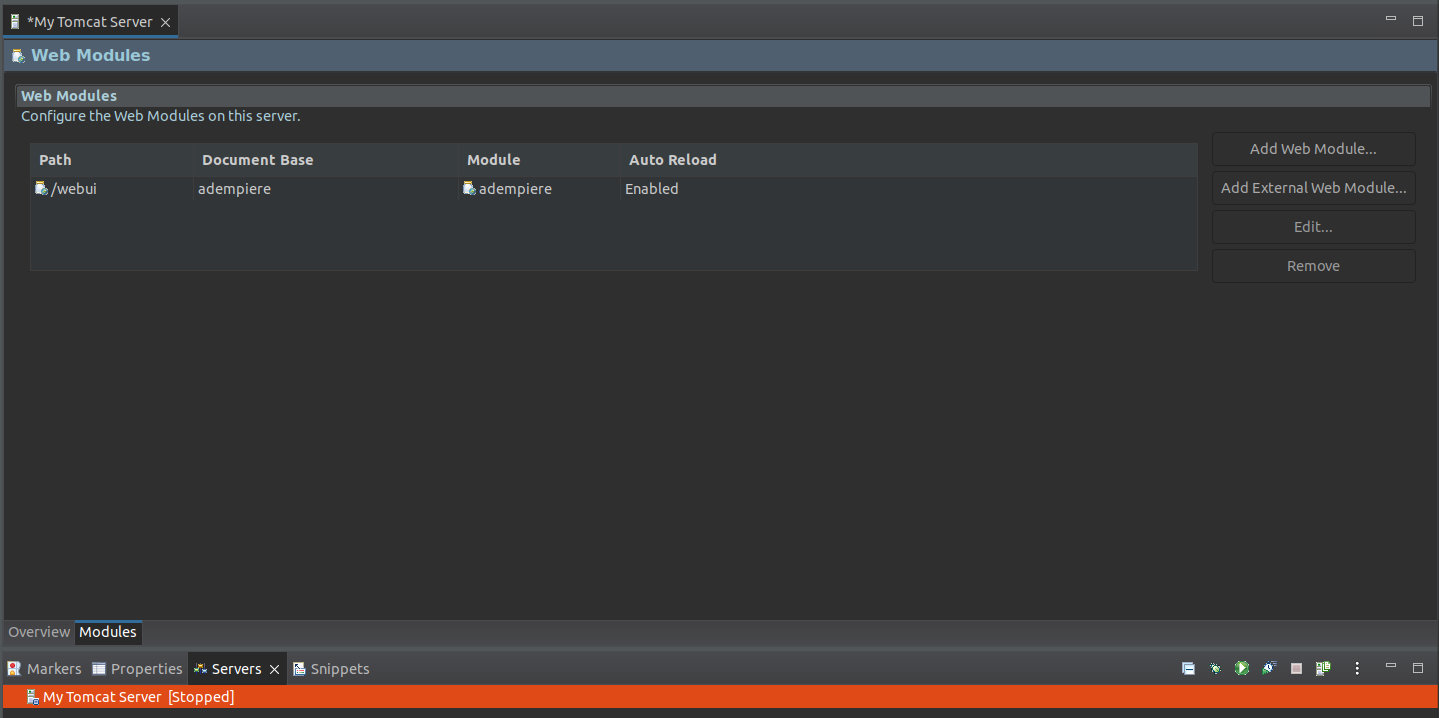
- See the ADempiere Module enabled and press
Ctrl+Sfor save setup file
After it press Open Launch Configuration and see the dialog for launch
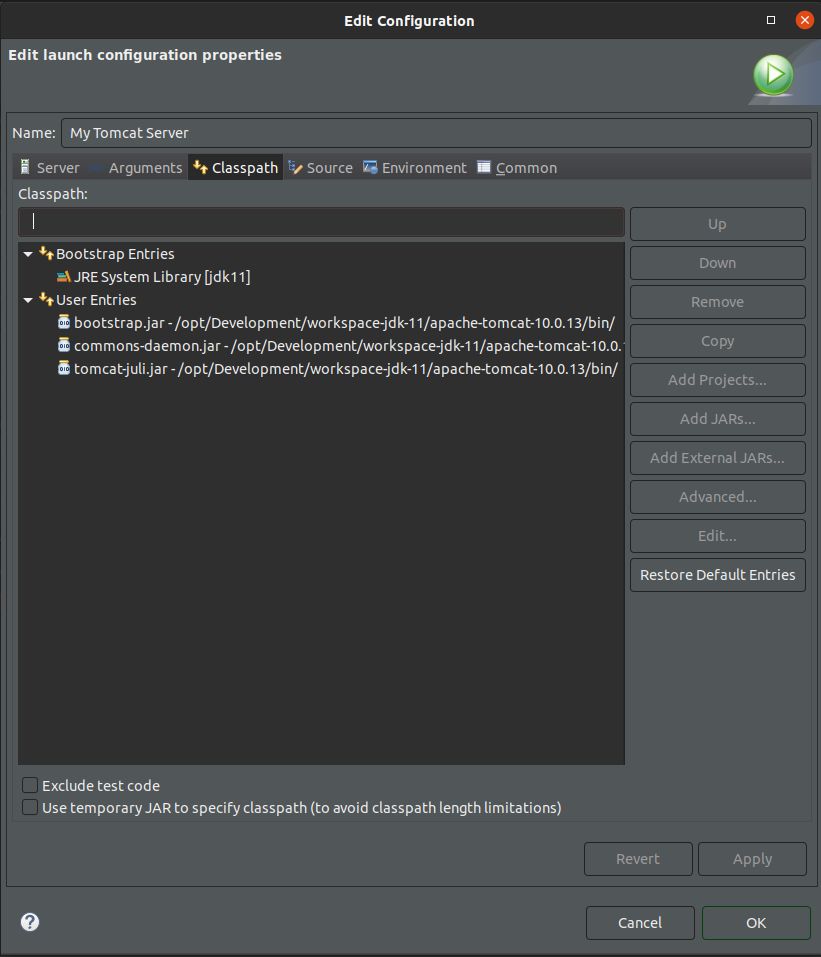 and select Debug Configurations... option, the follows press Classpath tab.
Press User Entries and after it press Add External Jars... button

- Go to
/opt/Development/workspace-jdk-11/apache-tomcat-10.0.13/liband select all libraries.
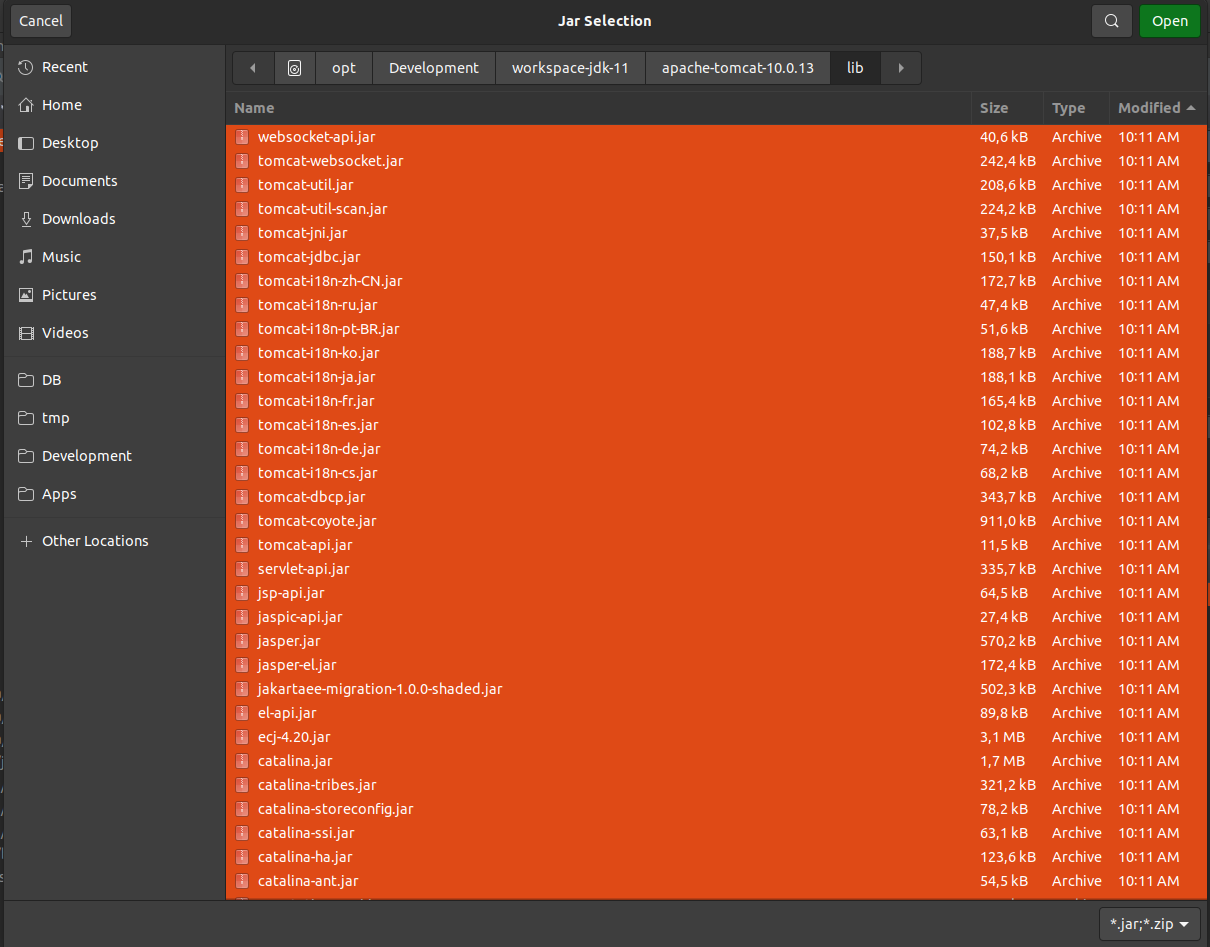
- Press Add Jars... button and select all libraries from adempiere project located in
adempiere/tools/lib
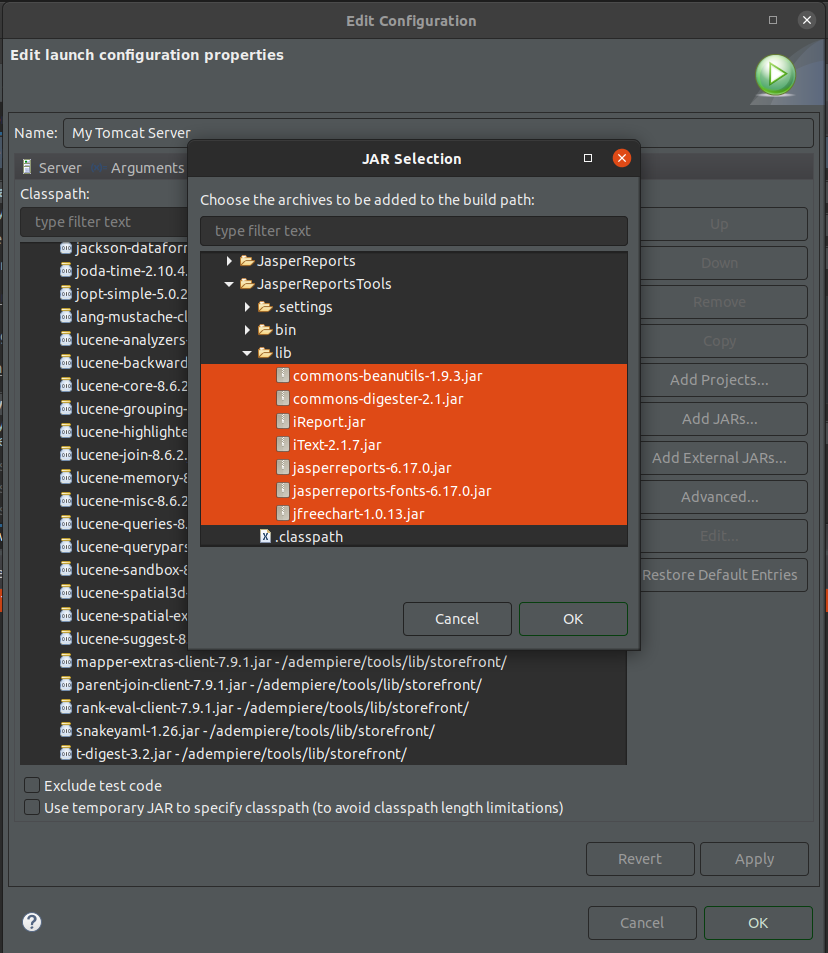
Repease the previous step for the folders:
adempiere/tools/lib/discordadempiere/tools/lib/openidadempiere/tools/lib/storefrontadempiere/JasperReportTools/lib
Press Add Projects... and select adempiere
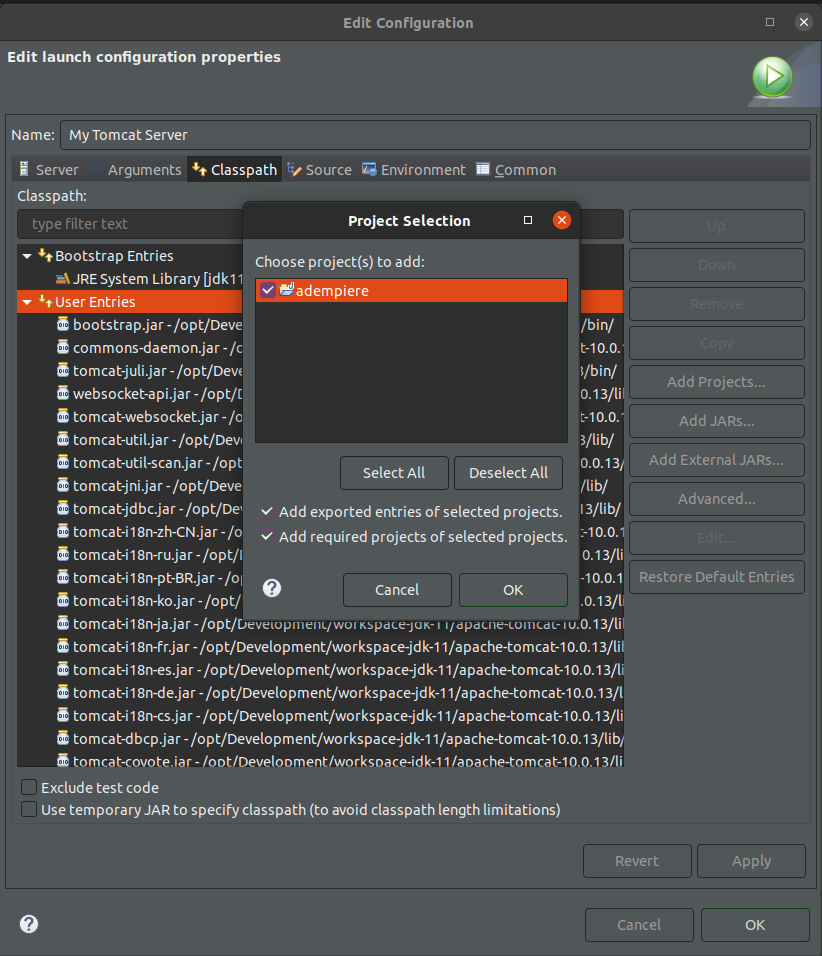
- Press Debug button
Now is ready